Dear teachers and students,
Please refer to the call for submissions for the International HerStories Youth Competition 2023/2024. The deadline is March 31, 2024.
Introduction
Centropa invited students in Hungary, Spain, Slovakia, Czech Republic, Germany, Poland and Greece to develop and produce an (multi-media) film project on the following topics:
- (Famous) Jewish woman of my country / town
- Biographies of Jewish women from the Centropa archive and HerStories project
Very welcome are, for example, projects that highlight the contributions and achievements of Jewish women throughout history; Profile influential Jewish women throughout history of your country or town; highlight involvement of Jewish women in social justice movements; Explore how Jewish women have contributed to advocacy, civil rights, and humanitarian causes; Explore the roles of Jewish women in various fields such as science, literature, politics, and the arts.
The films must be historically accurate, and tell an interesting story. They should also be innovative and creative. Each film should be between 5 and 10 minutes.
We encourage participants to submit their entries as a link to YouTube and send it via the submission form on this website.
Please note:
- The film should be either in English or in your mother tongue with English subtitles.
- The film needs to be made, and told, entirely by students, not by teachers or professionals.
The film making process can involve many students:
- some can do the historical research (teachers will have to assist, and you can also consult the Centropa team for historical questions: write a mail to germanyoffice@centropa.org.
- others can find and scan the photos and then work with photoshop to make them look better
- others can write the script (each film must be based on a script in a Word document)
- some can find copyright-free music that will be used in the film
- still others can narrate or put in the English subtitles
What to include in the film
For a film of 7 minutes, you need to include at least 40 photos (roughly 1 photo per every 10 seconds), and you can use your own photos or archival photos as long as these can be used for free. Please always credit each photo source in the ending of the film.
You can also add your own video of former and present Jewish sites: To view a best practice example for „Our town‘s Jewish history“, click here.
Step-by-Step Guide
Following is a step-by-step guide on how to make a film on a Jewish woman or Jewish women’s history from your town, region or country.
Step 1. Students need to begin by doing their research, so they know the following:
a. When did Jews first come to our city?
b. How many synagogues were there at the peak of the Jewish population?
c. What was the peak Jewish population and when was that?
d. Who were the most famous Jews who came from here, or from around here? How many of these are women, and who are they?
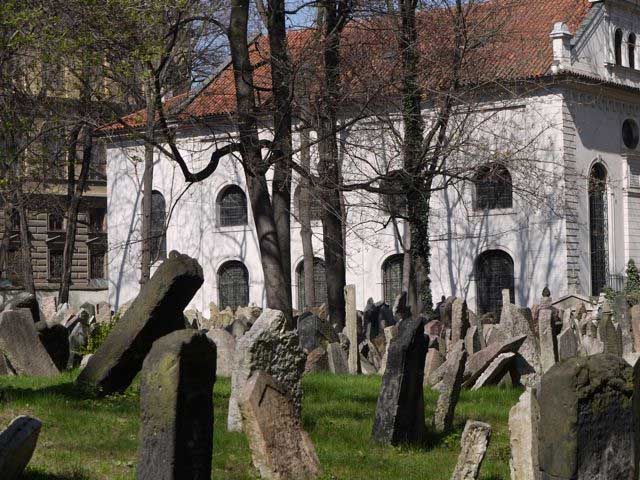
e. How many Jews live here now and which Jewish sites, like cemeteries, are here now?
f. What were the professions of the Jewish people in our town?
g. What happened here during the Holocaust?
h. What happened to the Jews of our town after the Holocaust?
i. Describe the Jewish community today.
Note on sources: We know that students will refer to the internet for their facts. That is not a problem, so long as the students cite specific, reputable sources for their information. We must leave this decision to the teachers’ discretion, as they vary from language to language. Yad Vashem, the US Holocaust Memorial Museum, the Jewish Virtual Library are all acceptable resources and there are others in each country & language.
When it comes to listing Jewish population figures and dates and numbers regarding the Holocaust, students should be told to provide at least two sources for every fact, just to be sure. Remember: these stories will be seen by experts around the world.
Step 2: Locating good photos to tell the story with.
Where to get good photos: Aside from websites, national and city libraries and archives will have photos about Jewish history or places. So will local Jewish museums. Remember, if you search in Google and type in the name of a town + Jewish, you may get lots of photos. If you concentrate on a Jewish woman from the HerStories project, you will find many pictures on the HerStories website.
But be careful to choose high resolution photos, at least 1084 x 824—otherwise, they will not look good on video.
Going to a museum or archive: Getting pictures to scan should not prove too difficult, but it might take a long time and might cost money.
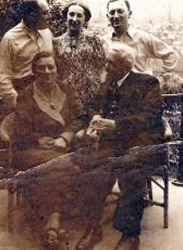
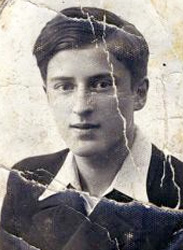
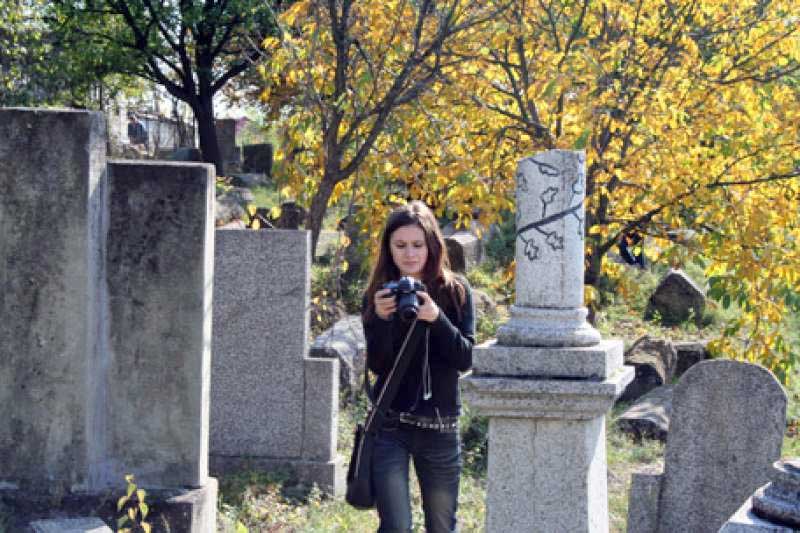
Therefore, students can, if they are serious about it, simply take a good photo with their own camera of a photo sitting on a desk—and then use that. However, it is important to take good quality photos. See sample above. And be sure to shoot in high resolution! Later, you can use a photo editing program to cut the photo out.
 |  |
Step 3: Video Shooting
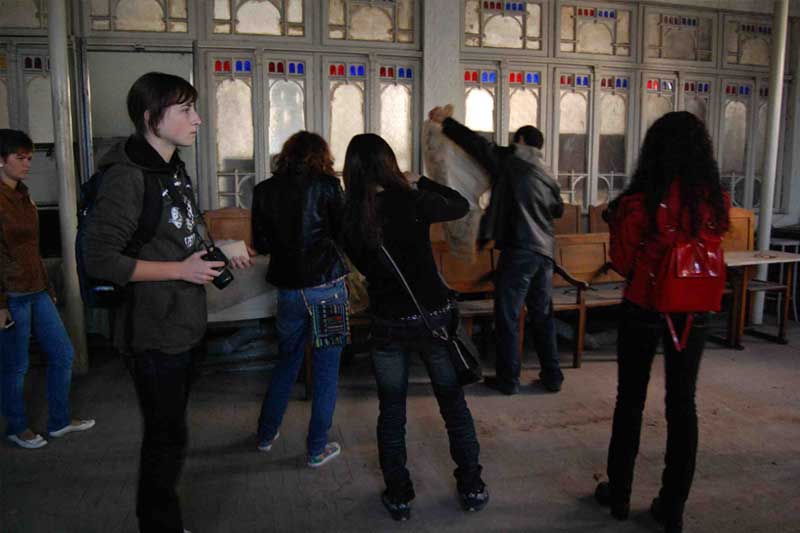
At this point, you have some old photos and you have done good research. Students should now visit the Jewish sites in their town (or nearby town) and take good photos with their digital cameras or shoot video. Many cell phones now offer the option for shooting video, but it would be better to use something of higher quality, if possible.
When shooting video, here are a few basic rules:
- If the thing or person you are shooting is moving, then you can hold the video camera and shoot it. If the person is sitting, or if you are shooting a synagogue or cemetery, then use a tripod!
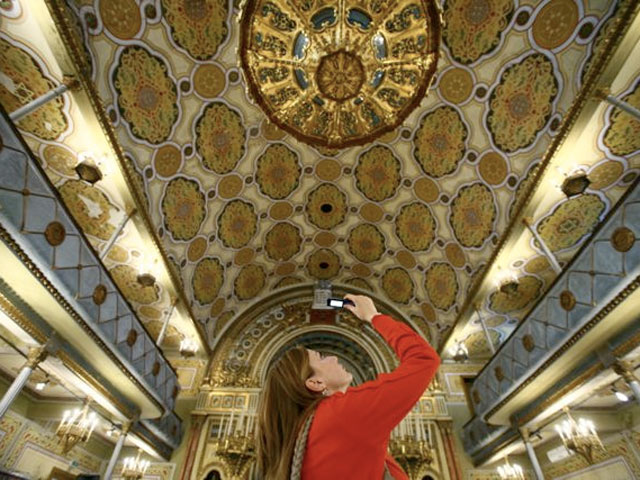
- If you want to show us the dome of a synagogue and the altar, then slowly pan up or down.
- Each shot should last 20 seconds.
- If you are going to be listening to someone, try and find a way to get a small microphone in front of him or her, because the microphone on the camcorder usually won’t be good enough—especially if they are outside on the street, where there is too much noise. We realize you may not be able to find a mike for this, but do try.
Step 4: Creating a Storyboard
The students then need to create a story board or script—only in English or in their local language with English translation. The script needs to be in MS word, and the photos dragged and dropped into the word doc. (please note: don’t drag high res photos into your word doc as it will crash!).
Remember: You want to tell us a story. Use photos or video or both, but make it a story for us. If your school has a creative writing course, then this teacher should certainly be able to help.
Here is an example of a basic story line on a town’s Jewish history—but remember, you can use video or still photos or both. That’s up to you. Please remember – this is only meant to be a guideline. Naturally, if you can film a Chanukkah party or a choir of the older people in the community singing, these would be interesting, too.
IMPORTANT TIP!
When students have finished their script in both languages, they can submit it to the English teacher for a grammar check and storytelling flow. They should also submit the script to the history teacher, who can do some fact checking, just to be sure.
Step 5: Video Production
Students then need to make their video, which can be done in so many programs now—Microsoft Movie Maker, Sony Vegas, Apple iMovie, etc. If your school has an IT department or a teacher that specializes in video, then please have them help, too, with the recording of the narration.
TIPS!
- Collecting
- Collect your materials and place them into a single folder
- Images
- Video Clips
- Audio Files
- Sound Effects
- Collect your materials and place them into a single folder
- Importing
- Open your software and make sure you have access to “import” the materials you collected into your software
- Import all materials so that you can arrange them into an organized film
- Arrangement
- Your software will have a “timeline” or “project area” where you can arrange your materials to create your film.
- Do your narration first, at the speed and tone you wish, and then add the materials.
- Once narration is complete, add your images, audio files, video clips and sound effects
**Remember to save frequently during this process!
- Converting
- Finalize your film into a .MOV or a .MP4 file
- Save the finalized version to your computer
- Use the saved file to share online: upload the film on YouTube
IMPORTANT!
At the end of the film, you must list credits with:
- the names of the students who participated
- music you used
- photos and film footage you use
Please do NOT steal music and photos, but look for music and photos that is copyright free. A good starting point for your search is the Free Music Archive for music and Flickr CC or Wikimedia Commons for photos. Please make yourself familiar with the different licenses attributed to the respective works.
Finally, the credit section of your film should include a thank you to those people who helped – your teacher, the city library, Jewish community – or whoever helped with research.
Need help?
If you need help or have any questions, reach out to our local coordinators:
- Hungary: Sára Szilágyi, szilagyi@centropa.org
- Spain: Mónica Buzali, monica.buzali.k@gmail.com
- Germany: Maximilian von Schoeler, schoeler@centropa.org.
- Slovakia and Czech Republic: Jana Turánska, turanska@centropa.org
- Poland: Anna Wencel, anna.wencel@galiciajewishmuseum.org
- Greece: Alexandra Patrikiou, apatrikiou@jewishmuseum.gr